Pennsylvania has some of the most beautiful terrain, including hills, mountains, valleys, and beautiful trees. Sometimes though, as beautiful as they are, this landscape can make construction of any shape and anything a challenge. And that is where professional excavating services are needed!
What are the basics of excavation work?
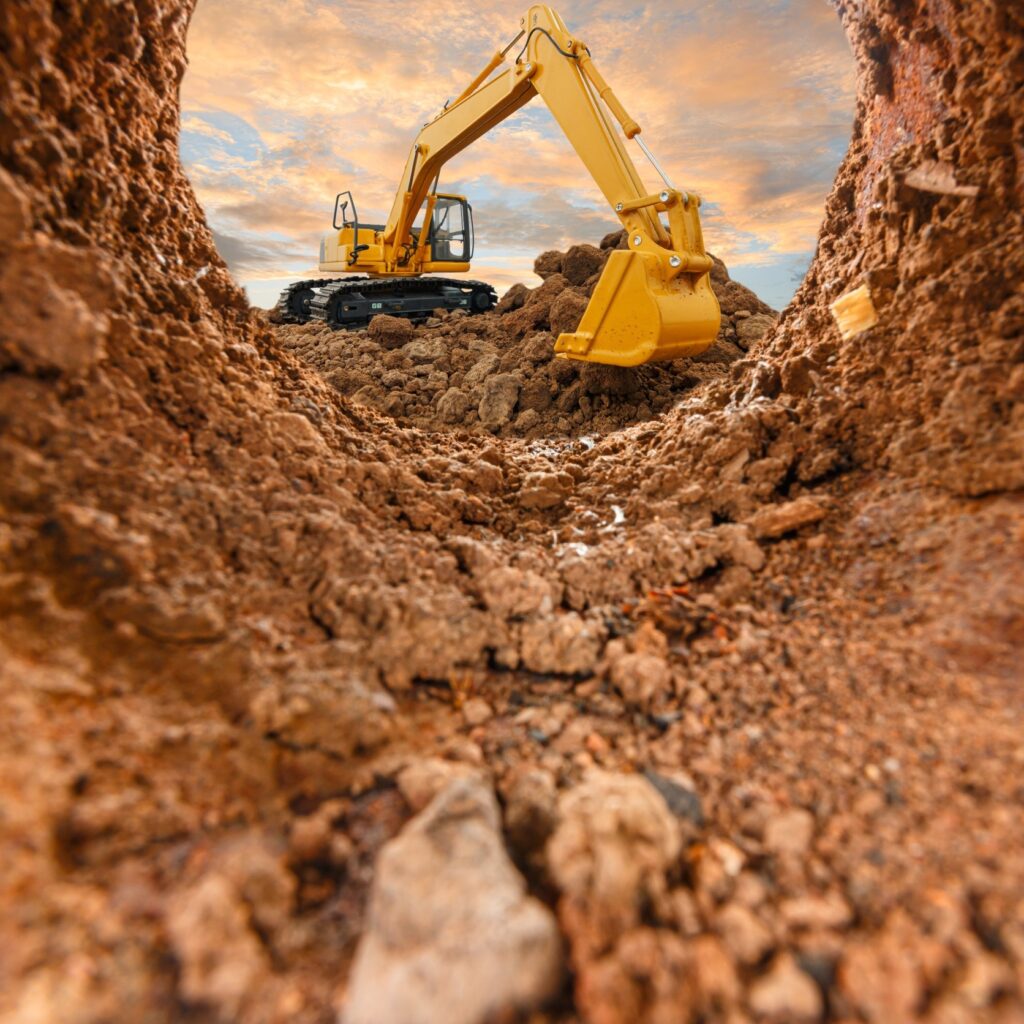
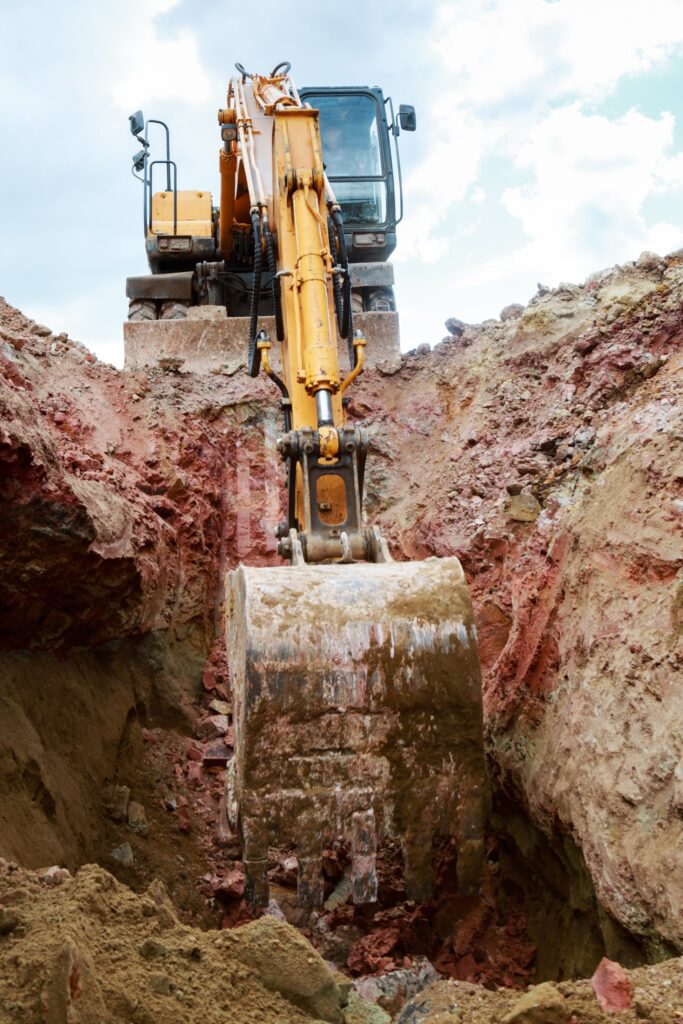
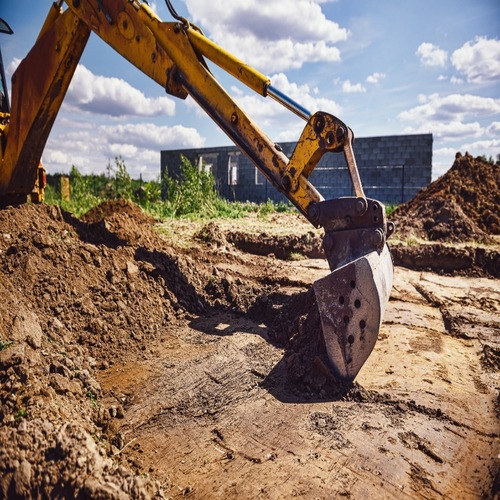
The definition of excavation is the process of digging and/or the removal of something specific from the ground, often using heavy equipment and machinery. When using professional excavating services, the crew will prepare the site by removing any debris and scanning the area for unseen obstacles.
Are there different types of excavation?
Yes, depending on the purpose of the excavating services, the techniques can vary. For example, construction companies use a few different types of excavating services based on what material is being removed and the end goal. In the construction industry, excavating services are grouped in two classifications with sub-classifications in those two:
Material Classification
- Topsoil Excavating Services:
This type of excavation service removes the exposed, topmost area of the ground surface. This includes removing decaying material, soil, and vegetation with the purpose of making the land unsuitable for structural loads.
- Rock Excavating Services:
This type of excavation service clears various surfaces such as rocky surfaces that are inhibiting the construction process. Compared to other types of excavating services, it can be more challenging because it takes special equipment and techniques. Those techniques can include blasting or drilling the rock and/or clearing a tough surface.
- Muck Excavating Services:
Muck excavating services work is where there is a combination of soil and water that makes an area undesirable for construction. The result of this removal is what creates the ‘muck’ and once it has been excavated, it is then transported to a different area. Sometimes, it is spread out until dry.
- Earth Excavating Services:
This type of excavation service is needed when the foundation of bridges and structures is being built or for the construction of drainage ditches.
Purpose Excavation Classification
- Cut and Fill Excavating Services:
Often referred to as stripping excavation, this is used to clear a large area by removing wide and shallow layers of rock, sand, topsoil, and other unwanted materials. Grading the surface is often included when needed.
- Trench Excavating Services:
In this type of excavation service, the length is larger than the depth. This type of excavation service is used for burying service lines where pipelines and sewer systems are to be installed. The type of excavation process and equipment used will depend on the depth of the trench needed and its purpose. Other factors considered are the ground conditions, the number of and type of obstructions, etc.
- Basement Excavating Services:
The basement is an area below ground level and excavating services for a basement are done prior to the start of construction. Depending on the plans of the structure being built, it is typically done just below ground level, which can be challenging.
- Dredging Excavating Services:
Sediment build-up can make construction difficult. This type of excavation service includes dredging and the removal of debris and sediment from underwater for water vessels to pass or other construction needs.
What is the difference between digging and excavation?
Excavating services are a process of digging, but deeper, using larger equipment with special techniques. The act of hand-digging using a shovel is typical for smaller areas like flower beds and gardens.
What is the difference between trenching and excavation?
Like digging, trenching is also part of excavating services. The difference is how wide the area that is being excavated is.
How deep can you excavate in Pennsylvania?
You can dig as deep as necessary once you have called 811 and permission is granted. This non-profit corporation has the sole purpose of protecting the underground to minimize issues with assorted utilities and water.
What must take place before excavating services can start?
The first thing excavating services do at the job site is an assessment of the job site and then the plan is created. This could include professionals in engineering, architecture, or surveying. The purpose is to determine current conditions on the job site, including the topography and soil composition, as well as if any existing underground utilities are on the property. If the excavation area is deeper than four feet, atmospheric testing is required to determine if there is any oxygen deficiency or hazards.
Getting Down and Dirty
If you have anything larger than a flowerbed, or garden, or is beyond basic farming, professional excavating services are typically needed. This is typical for the construction of structures, which can include making trenches for electrical, plumbing, and other utilities as well as constructing roadways. When using professional excavating services, they will typically take all the precautions needed and obtain any permits needed for the job.